Global Payments Merchant Portal Tutorials: How It Works

How Does it Work?

The Global Payments Merchant Portal is fully accessible through a desktop or mobile device. Merchants and Internal users will access the Merchant Portal through the following URL: https://accounts.globalpaymentsintegrated.com, which will take them to the following page:

Within the Global Payments Merchant Portal, a menu bar will display navigational options to view various sections for the site. Menu options are based on permission levels, so only those options that a user has access to will be displayed on the left hand menu bar. A sample of the menu bar is shown to the right:

Dashboard Overview

The Global Payments Merchant Portal dashboard provides a look into the user’s entire business and provides access to his or her data, defined by selected hierarchies. The dashboard is comprised of a collection of small windows, called “data widgets.” Each widget provides a snapshot of the available information for a specific category of data.

Though the dashboard initially displays consolidation information for all of a merchant’s locations, the user can change the display to show information for a set of locations only, or for a single location only.

Reports Page Overview

Merchant Portal provides a wide selection of reports, available through the Reports option. Availability is based on permission levels. Where applicable, reports provide both summary information and details for the transaction history information available.

The Reports section enables you to:

  1. Generate reports using a wide range of search and filter options.
  2. Customize your reports by clicking on the “create” custom report option.
  3. Export reports.

To get started, click on the “Reports” option on the left menu bar.

Initial Reports Page

The initial Merchant Portal reports page has the reports broken out by categories to quickly identify how you would like to view your transactional activity:

Depending upon your data permissions, some or all of the following reports selections may display on your Report Listing Page.

Batches
  • Settled Batches
Disputes
  • Adjusted Disputes
  • Received Disputes
Deposits
  • Chain Aggregate (CA Only)
  • Deposit
  • Payment Advice (AP Only)
Transactions
  • Authorizations
  • Card Summary
  • Monthly Transaction Detail (UK Only)
  • Settled Transactions

To export report details, use the “Export” button. The available file types for exporting data are: Comma Separated values (CSV) and PDF.

Account Management

The Account Management section of the Portal will contain all information pertaining to your account setup. The following information can be found under Account Management:

  • Users
  • Locations
  • Statements
  • Documents
  • Product Offering

Account Management > Users

To manage external or internal user access with Merchant Portal, the Users section of the portal will allow you to create, edit, and inactivate users.

Below is where you will find the Users tab within Merchant Portal:

To search for a particular user of the portal, you may utilize the search button at the top right of the screen entering in any information from the table below:

  • Name
  • Email Address
  • Role
  • Acquirer
  • Status

You may export the user information by clicking on the Export button at the top right of the Users table, as seen below.

The Filter button at the top right of the window allows you to manage how you see the user information within the table below:

To inactivate a user within the portal, click on the Status button as seen below. Note: Ability to inactivate or activate users will depend upon your assigned permissions.

The Actions button will allow you to Edit or View more information about a particular user.
Note: Ability to inactivate or activate users will depend upon your assigned permissions.

To modify a user’s permissions or data access click on Actions > Edit User.
Note: Ability to edit users will depend upon your assigned permissions.

To create a new account, click on the Create New User button as seen on the top right.

Then proceed to complete the User Information, Permissions, and Data Access.

Account Management > Statements

To find a merchant’s online statement. Click on Account Management from the left navigation bar. The following functions can be completed from the Statements window:

  • Sorting: The statements can be sorted by the following:  Date, Merchant Number, Merchant Name, City, State.
  • Filter: To filter Statements by date, click on the Filter button located on the top right window of the portal
  • Actions: Allows you to download a statement in either HTML or PDF format.
  • Multi-Select: To download more than one statement, click on the Box to the left of the Date column in the table listed below. Multi-Select allows a user to download multiple statements in either a single PDF or a zip file of multiple statements.

Filter view of Statements

Actions button view of Statements

Multi-Select on Statements

Account Management > Documents

The Documents section within the portal holds important information for our customers about the Privacy Policy and Terms of Use.

Account Management > Locations

The locations section within the portal, under Account Management, holds merchant location information.

View More Information: To examine more details about a specific location, click on Actions > View Detail.

Column Manager: To modify which data about a particular location you want on your main summary table, click on Columns.

Filter: To filter your location data by Merchant Name or City, click on Filter on the top right as seen below.

Register MID: You can add more locations to a user's profile to view transactional activity.

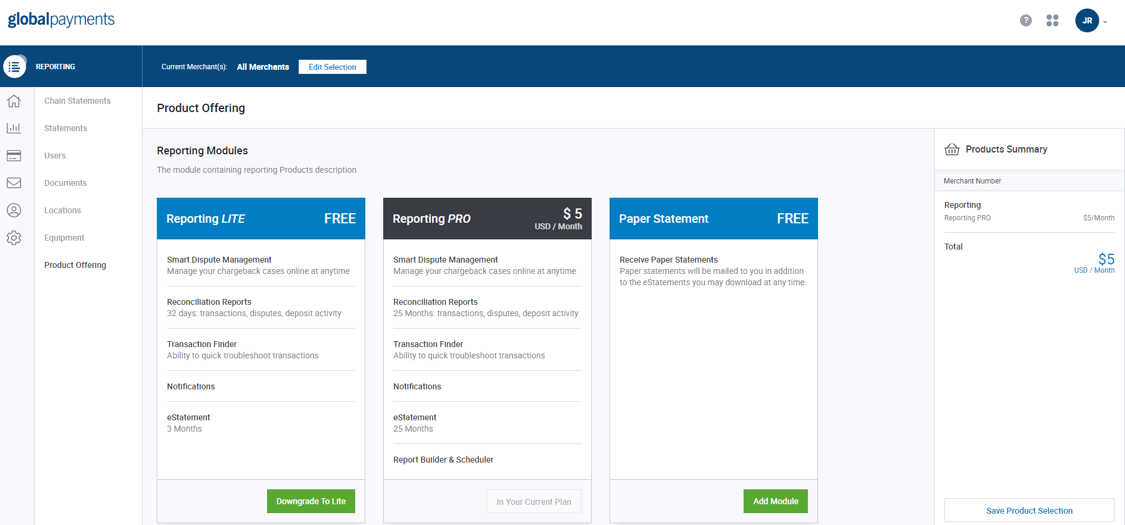
Account Management > Product Offering

To modify the product subscription package requested by a user, click on Product Offering under Account Management.
Note: The Product Offering page varies depending on your region/country/business unit.
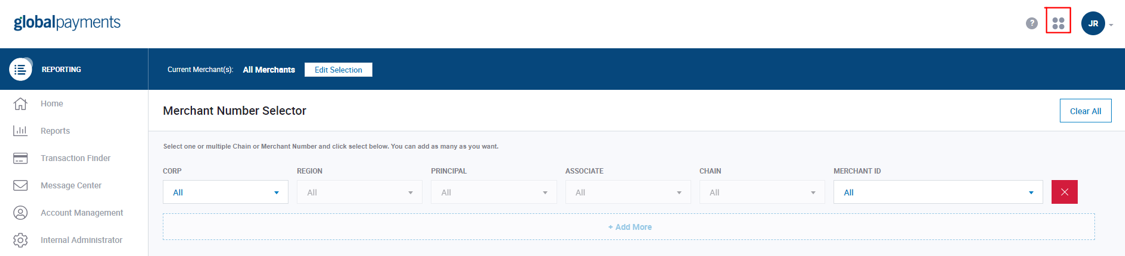
Hierarchy Selector

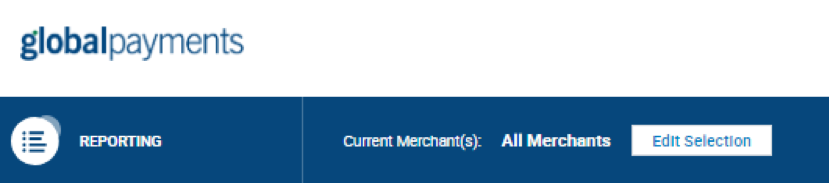
The Hierarchy selector, located at the top of the portal, is used to help filter your data access to a particular location (MID) or multiple locations.

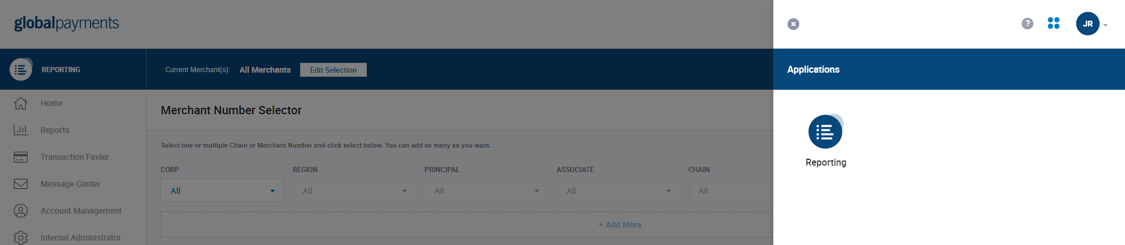
Application Drawer

In order to access other applications from the Merchant Portal, you must either click on the Application Drawer, which is located on the top right of the application, or click on your profile button.

Application Drawer

Profile Screen

Help Center

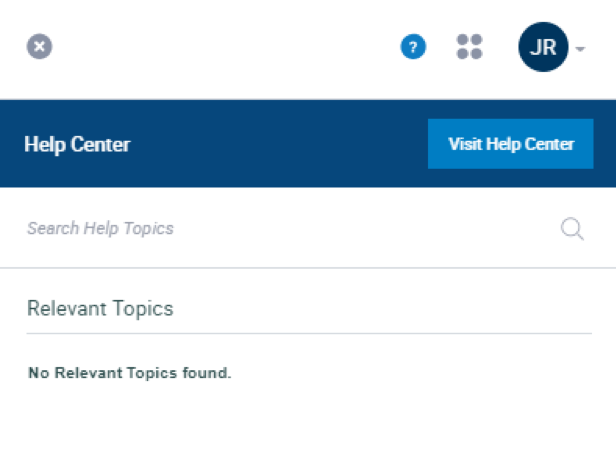
The Help Center will assist you in getting started once you have successfully retrieved or generated your login credentials. The Help Center can be accessed by clicking on the question mark (“?”) on the menu bar, located at the top right corner of the Global Payments Merchant Portal, as illustrated below:
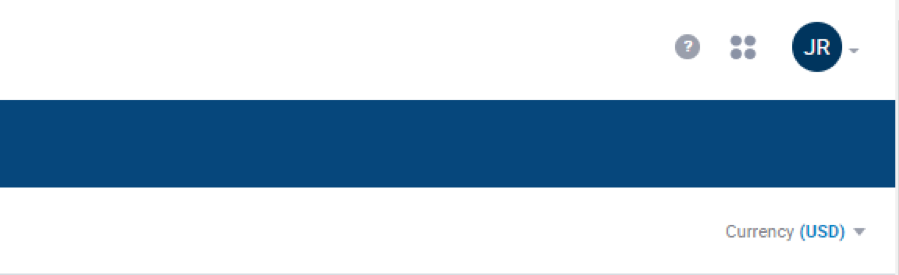
After clicking on the question mark symbol, the below screen will be displayed on your right hand side panel.
What You’ll Need to Login

  1. Login Details: Email Address and Password
    1. Note: Your account will be deactivated if inactive for 90 days, and deleted if inactive for 120 days.
  2. Merchant Number, or hierarchy details, will be required to filter your transactional activity. There is a merchant selector that can be used to drill down by individual merchant number or multiple merchant Numbers, which can be found at the top of your screen.
  1. Add the Merchant Portal URL (https://accounts.globalpaymentsintegrated.com) to your favorites or bookmarks so you have the link available.